Using Hopscotch in the Classroom
Subject
Digital Technologies
Year Level
6
Strand
Digital Technology Processes and Production Skills
Sub strand
Digital Implementation
Implement and use simple visual programming environments that include branching (decisions), iteration (repetition) and use input (ACTDIP020)
Link to Resource
https://www.gethopscotch.com/
Cross Curriculum Priorities and General Capabilities
Numeracy, Information and Communication Technology (ICT) capacity and Personal and Social Capacity
Links to other Learning Areas
Literacy, Numeracy and Science
A classroom activity using this resource
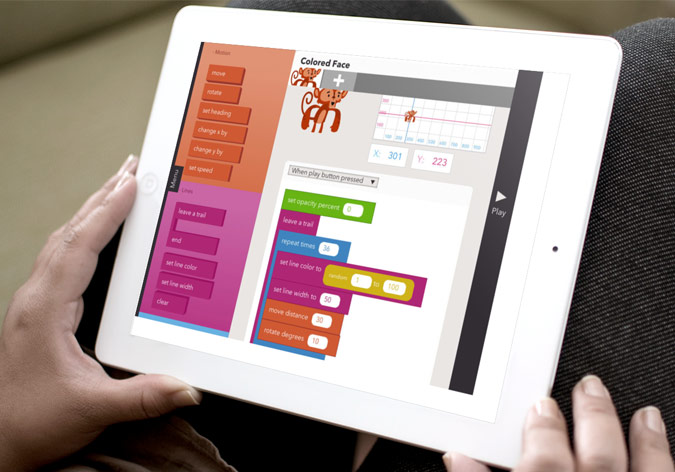
Hopscotch can be used to teach students core coding concepts and language. Students can create their own mini-games on Hopscotch which, when published, their peers can play! If it is the students first experience with the App, explain what Hopscotch is first and what they will be creating as an end product. Telling students they will be publishing their own game for peers to play will spark their interests and give them the incentive to actively participate. Firstly, ask the students to click on Geometry Dash. This will be the game they will be creating. There is a YouTube video (https://www.youtube.com/watch?v=BO4II-DZTeo&list=PLOdVzumQi5YC-TaJloe9J3EqHpDJJWvWg&index=1) which explains how to create the game. This video can be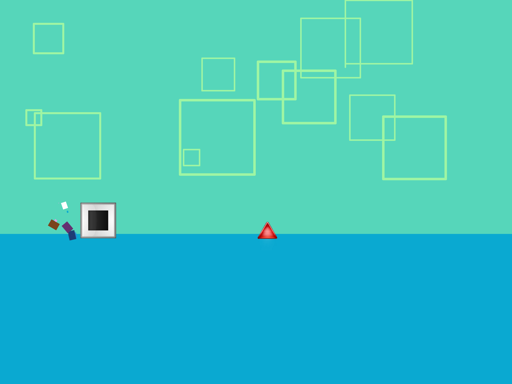 paused and played by the teacher at the pace suitable for the class. Once students have had experience with the App and the game and are confident enough, they can make up their own Geometry Dash game which can be published for their peers to play.
How to use this resource
In order to use this resource, the app needs to be downloaded onto the class iPads. It is a free download from the App Store. Hopscotch can be used in many ways, such as creating own mini-games, drawing and patterns, Minecraft remakes, mini-websites, 2-player combats and much more. When using Hopscotch, students will be learning core coding concepts as well as problem solving, computational thinking and programming. There are many YouTube videos which help explain how to make a mini-game or use other parts of the App. It is recommended before teaching it to try it out first to get a good understanding of what you will be teaching. YouTube videos can be played on the IWB in the classroom where students can follow along at the pace needed. If students already have experience can move on ahead or help others in the class who are struggling. The Hopscotch website also has plenty of resources, even a curriculum, for teachers to use when they are teaching. When students are happy with their creation, they can also publish them so their peers can have a go at playing the game they created. Hopscotch is easy to use and student-friendly which is perfect to use in a classroom.